1- Logging In
Go to the Evidence Academics LMS login page
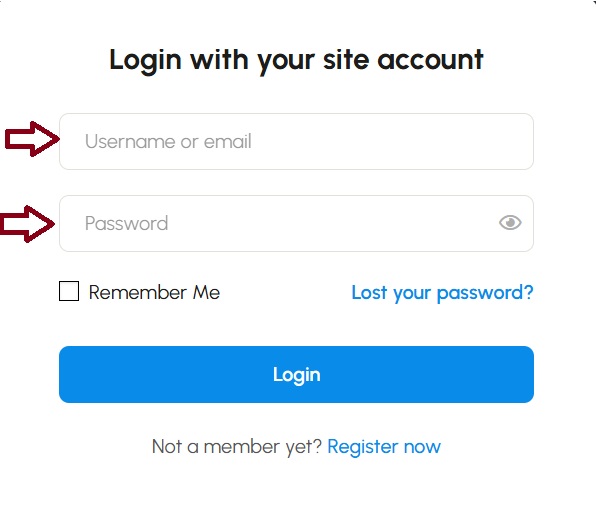
2. Enter your Credentials
Enter your credentials as a trainer to access your dashboard.
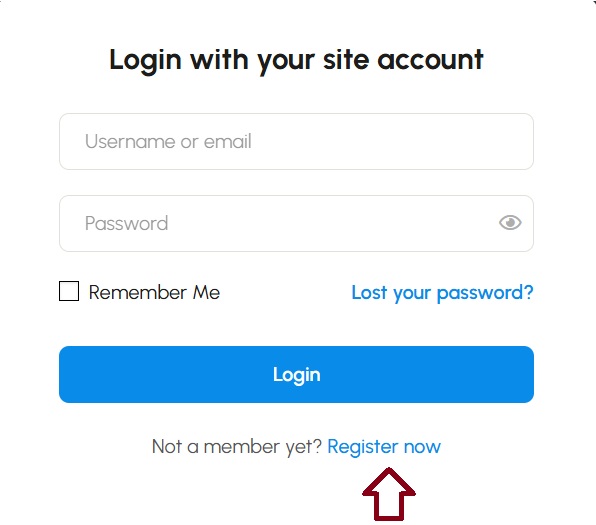
3. Register
If you don’t have an account click on register
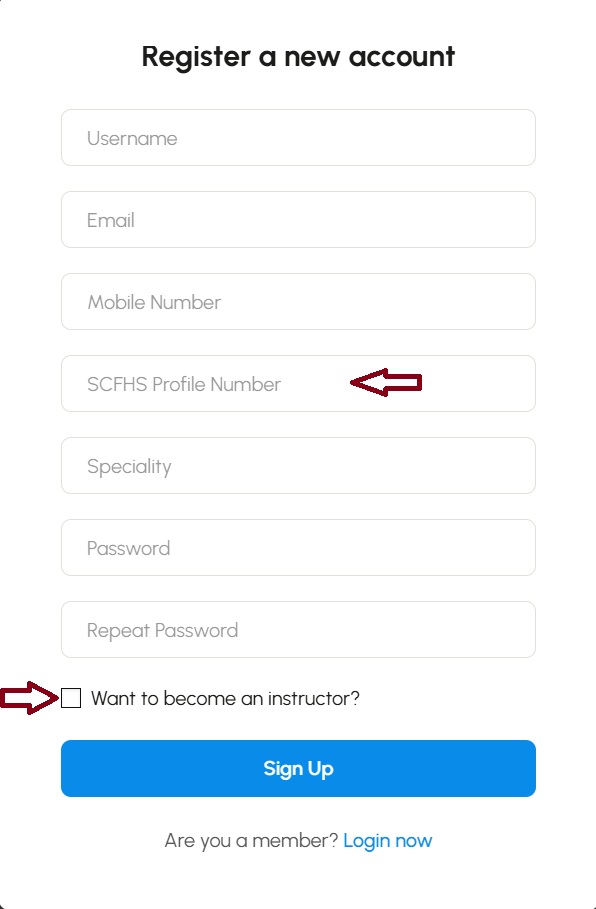
4. Create an account
Fill out required information and if you’re not licensed practitioner from SCFHS type N/A in the SCFHS Profile Number section.
Then check the i want to become instructor CheckBox.
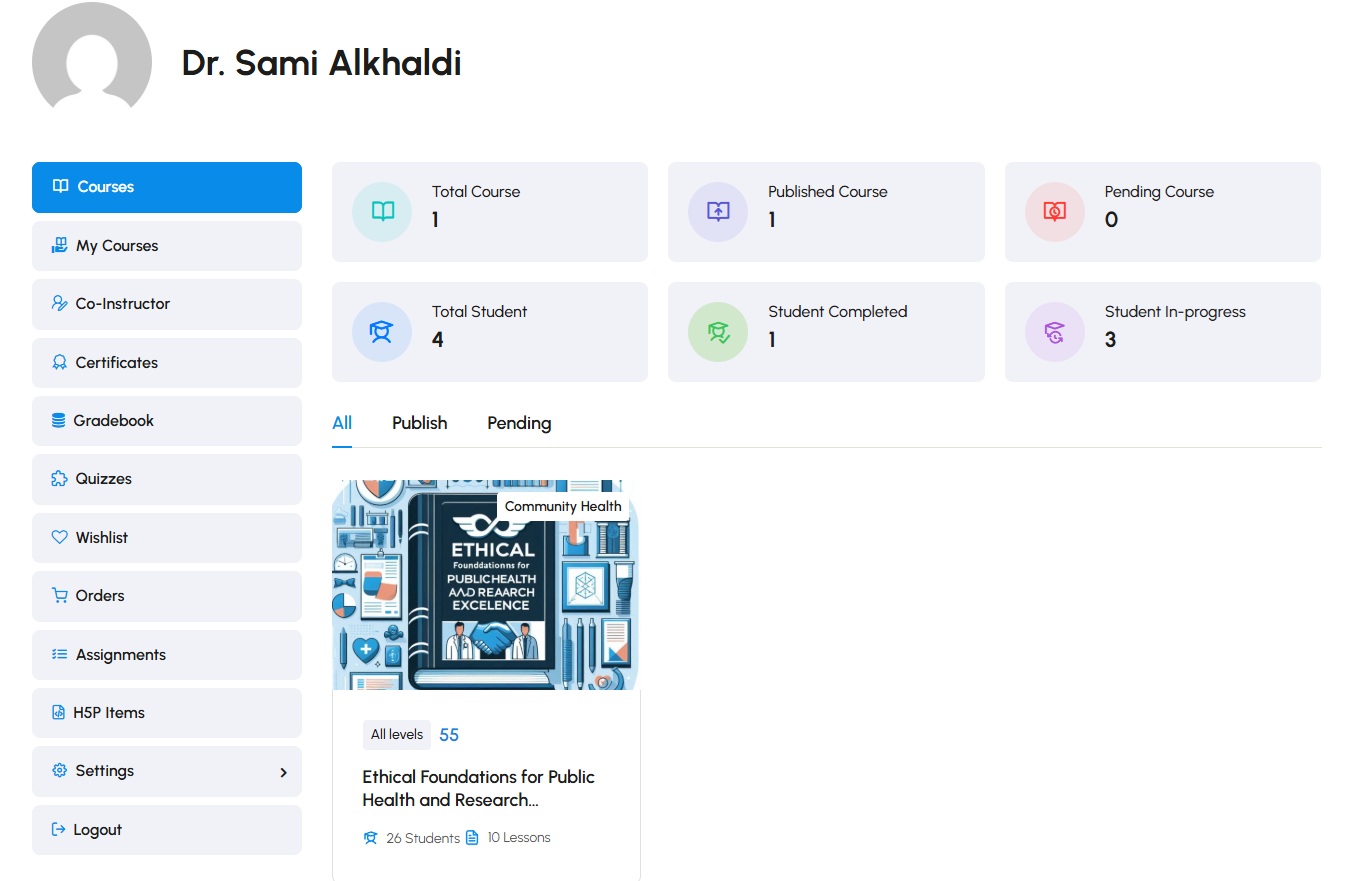
5. Dashboard Overview
- Once logged in, the dashboard provides a quick overview of your active courses, pending courses, total enrolled student, student progress and course completion.
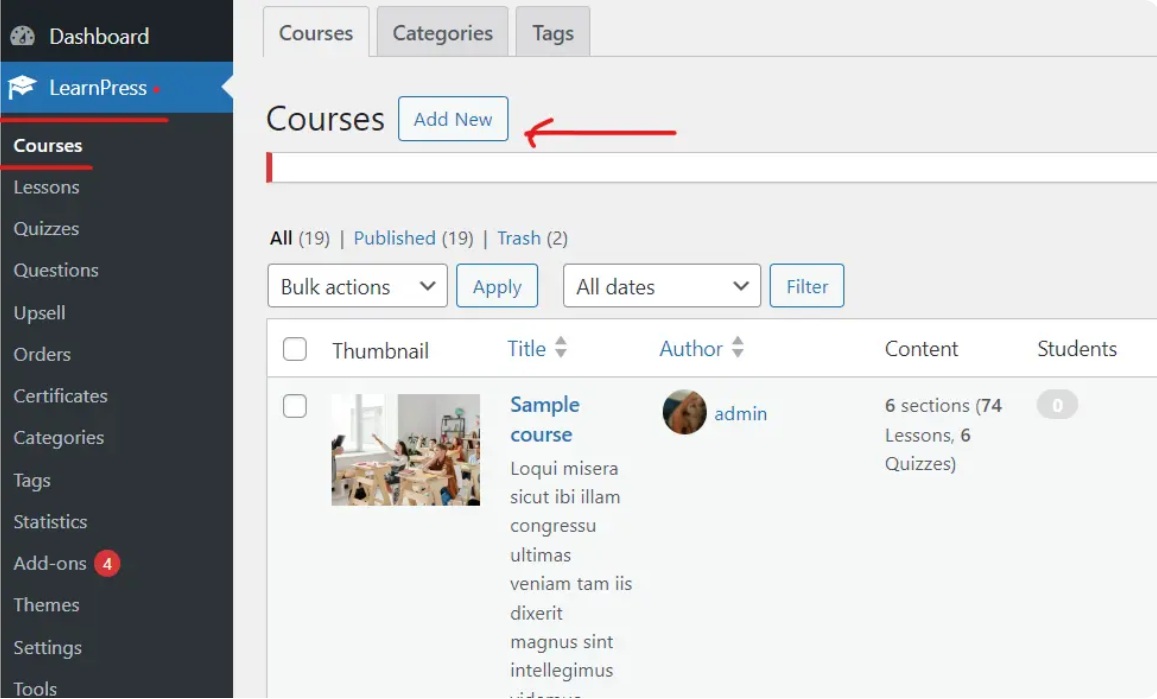
6. How to Create a course
Of course, you will need to access your WordPress Instructor panel.
Go to your WordPress Instructor dashboard.
Navigate to LearnPress.
Choose Courses from the LearnPress dropdown.
Click the “Add New” button.
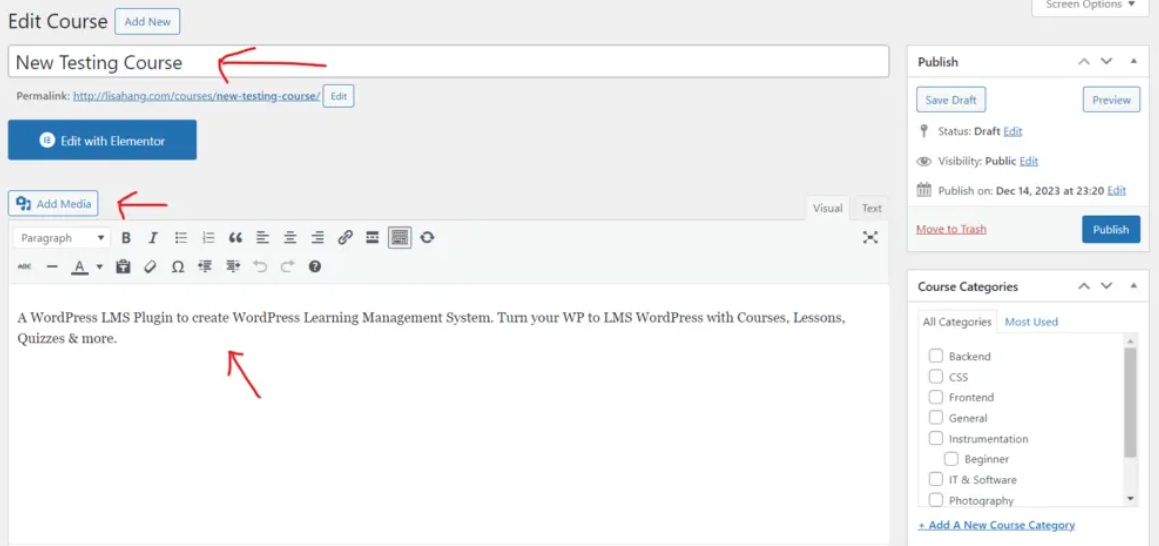
On the course editor page, you will see many things to do. However, they are not as complicated as you might think. The most basic information that will be needed are:
- Course name: The name of the course, you should make a unique name for each course so users can identify them better
- Add Media: You can add media to a course, including images, videos, files, GIFs, and more. Media content will make your course more lively and easier to consume, not just plain text.
- Description: This is the description of a course that will contain text, images, videos, or anything that you use to describe & illustrate your course.
Of course, you can choose how each part of your content will display like alignments, styles, lists, text colors, special characters, & indent.
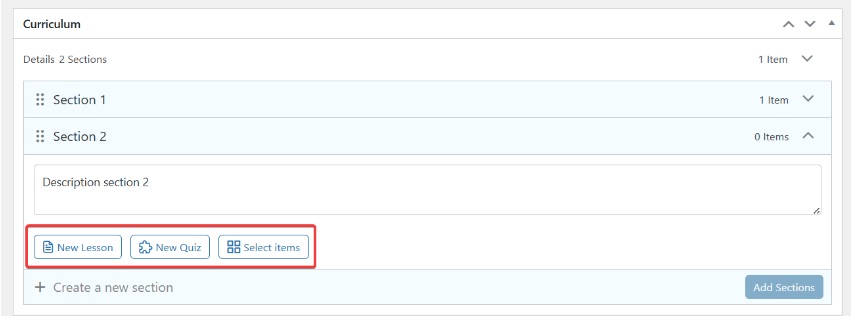
You can Select a Lesson or Select Quiz to add the lesson/quiz that you have already created – Or you can create a new lesson/quiz there (those will be automatically added to the lesson/quiz library later)
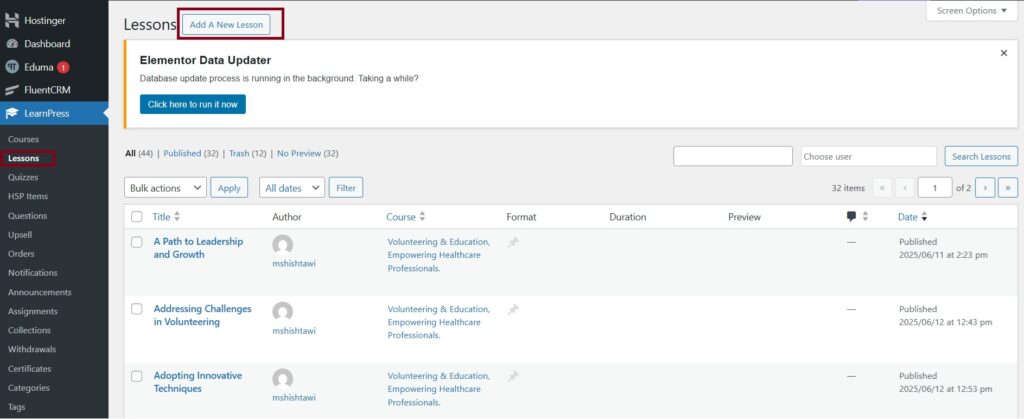
7. Create a lesson
You can create lesson, Please go to Dashboard => Learnpress => Lessons => Add new. You can see the photo below:
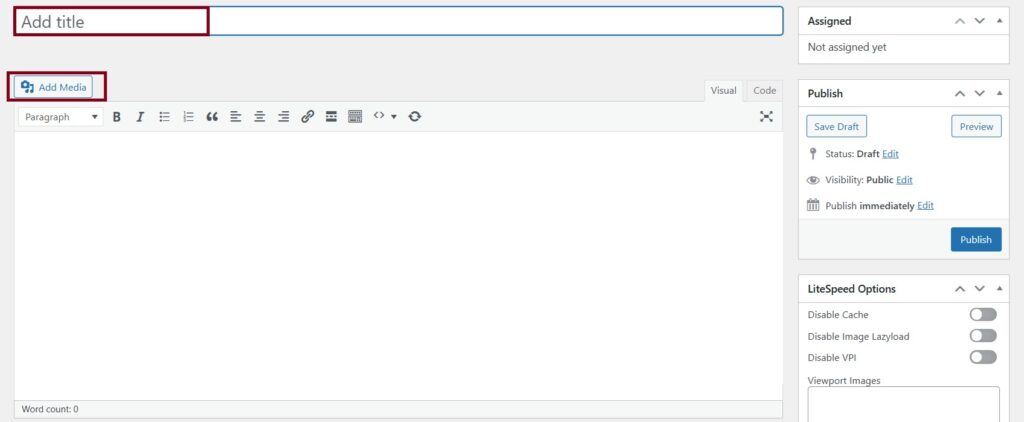
You can set the Lesson title , media, Duration, allow customers to preview the lesson content before purchasing, allow users to upload additional materials, allow users to add comments
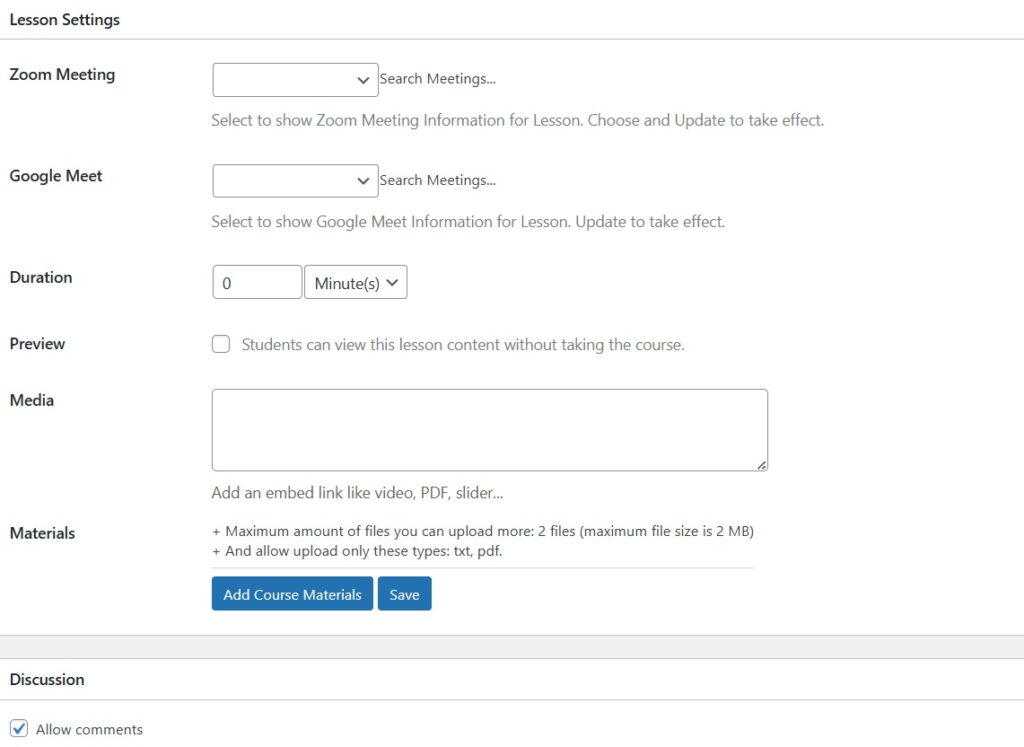
- Zoom Meeting / Google Meet
- : Choose a meeting link to connect your lesson with the appropriate video platform. Be sure to click “Update” after selecting.
- Duration: Enter how long the session will last (in minutes).
- Preview: Enable this if you’d like students to access a preview before enrolling.
- Media: Paste a link to embed video, PDFs, or sliders directly into the lesson.
- Materials: You can upload up to 2 files (max 2MB each, .txt or .pdf format) for students to download.
- Add Course Materials: Click here to attach the chosen files.
- Save: Use this to save all your settings and changes.
after that, click update. to save your course settings.
8. Create Quiz
To create a new quiz, you can go to your Dashboard => LearnPress => Quiz => New Quiz. You can see in below picture
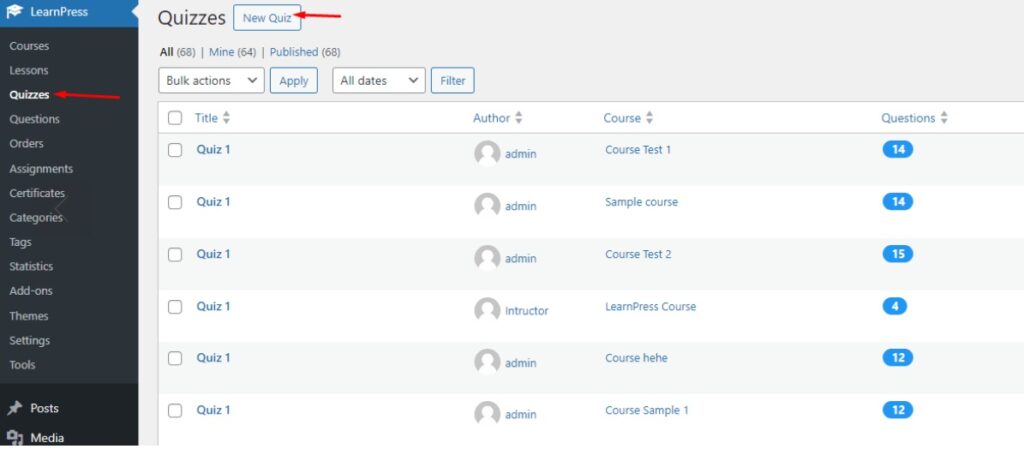
We allow you to set many options for the quiz, you can see in the below picture.
You should pay attention to the “Duration”, “Show correct answer”, “Minus point”, “Passing Grade” and “Re-take”.

With LearnPress, we support True/False questions, single choice questions, multiple-choice questions, Fill in Blank.
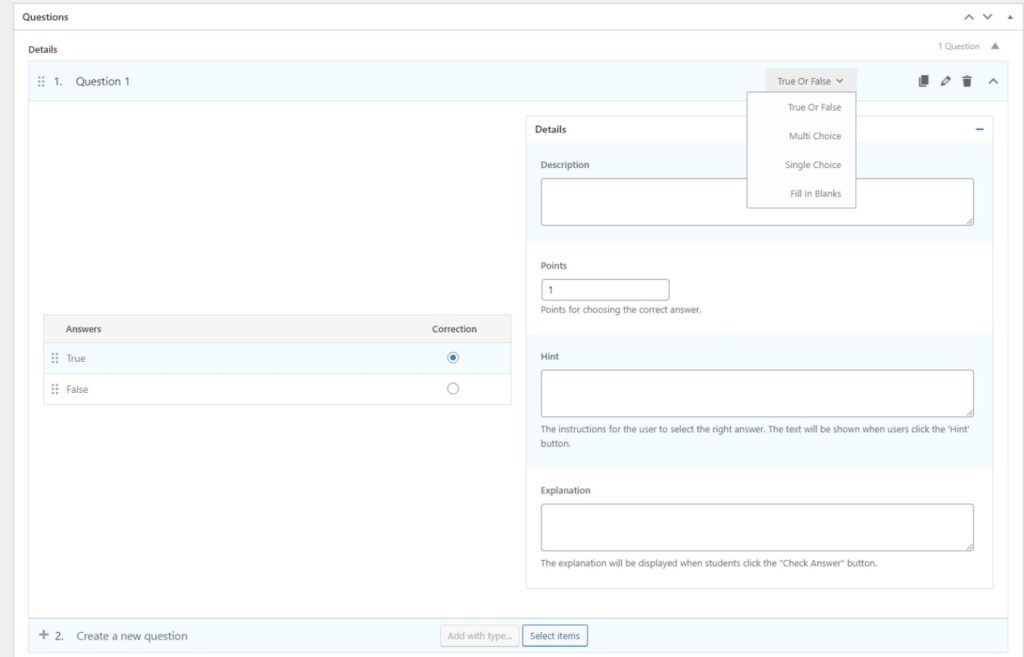
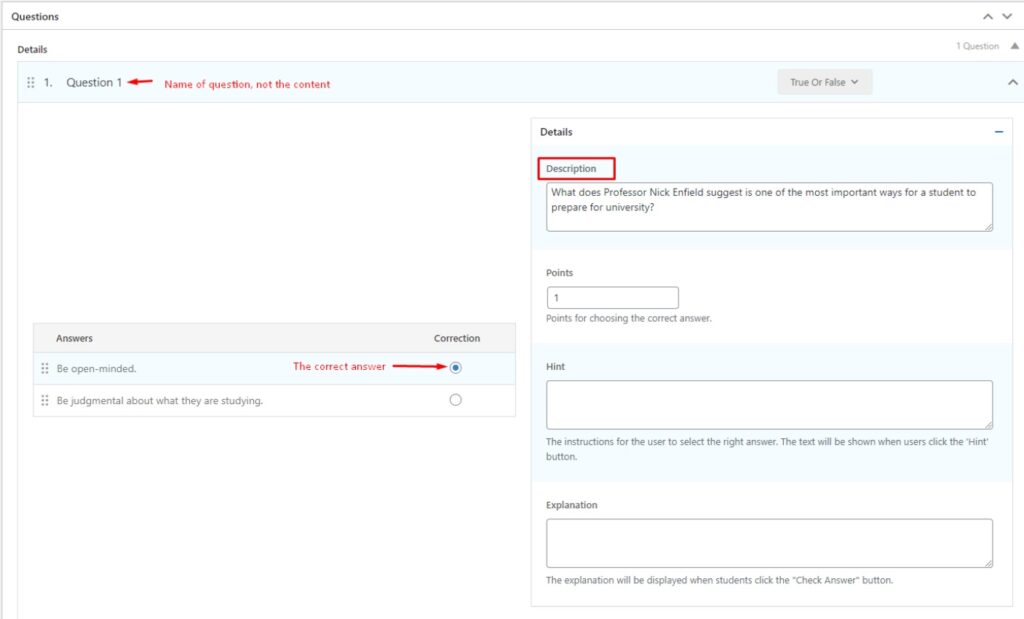
In the True/False question, you need to put question name, question content, choose the correct answer.
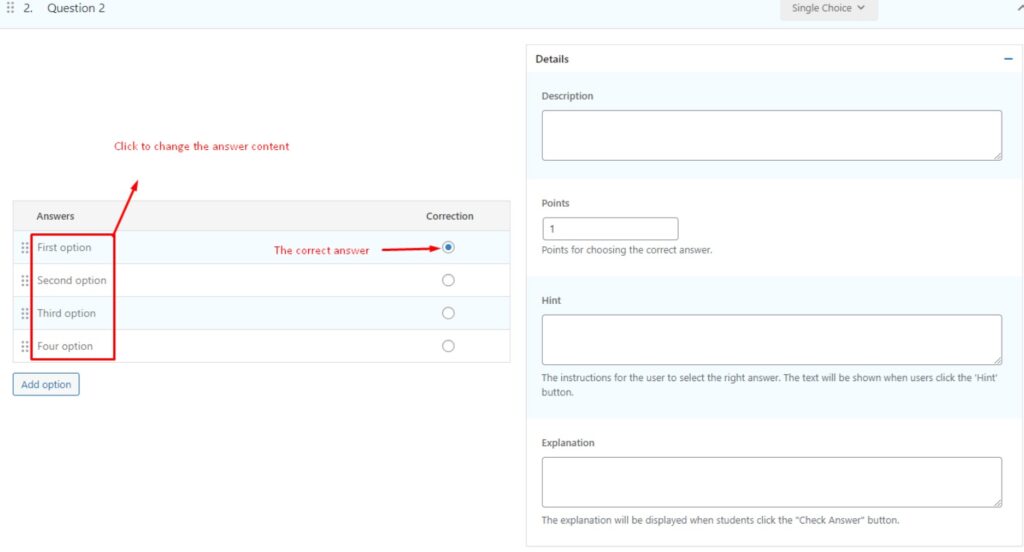
To create a single choice question, you need to enter the options and choose the correct answer, you can add more options by click “Add option” bottom. You can see the picture below.
With the multiple-choice questions, you can select more than one correct answer

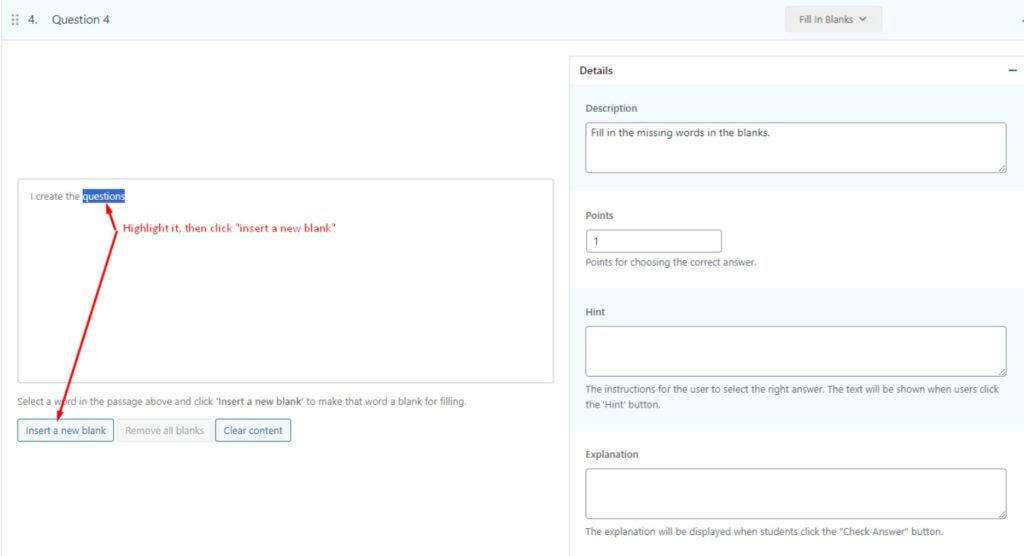
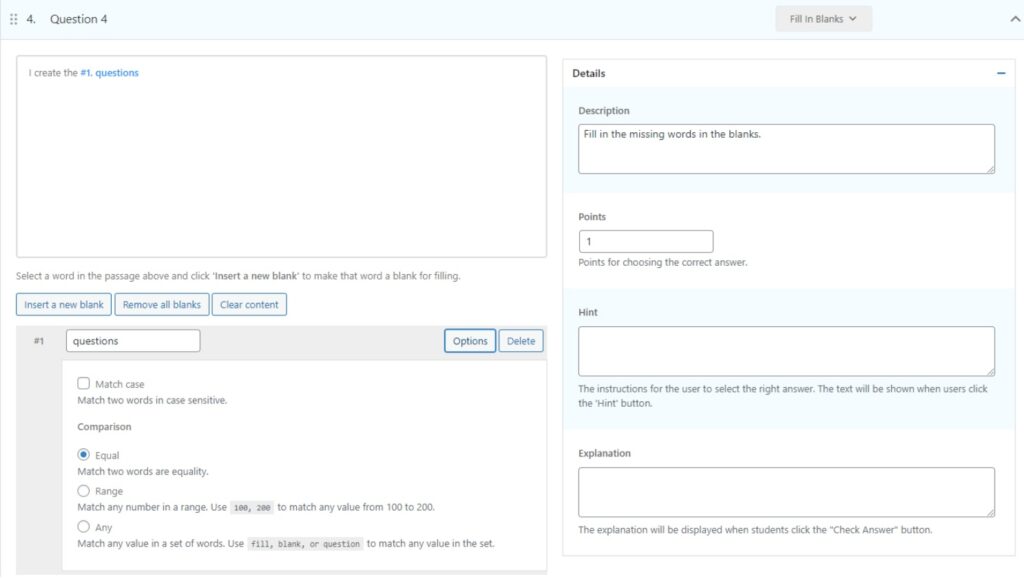
With the Fill-in-blank questions, you can create questions with blanks that need to be filled in.
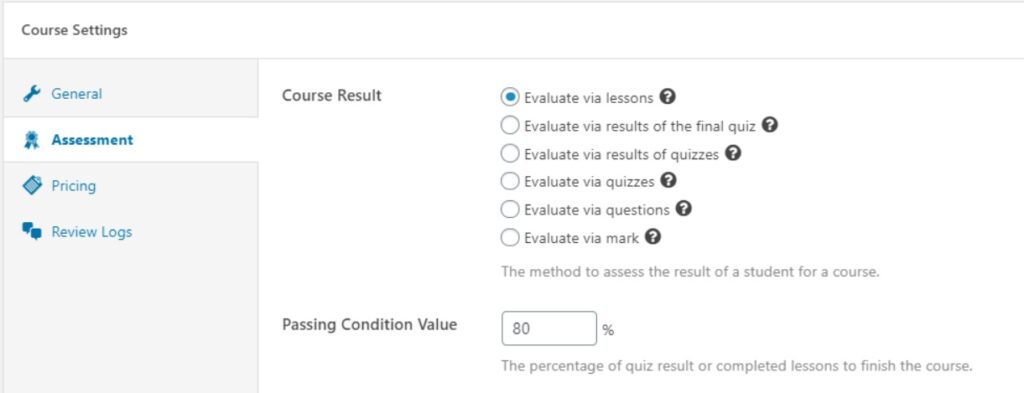
9. Create Assignments
Provide several options to evaluate course result and set passing grade
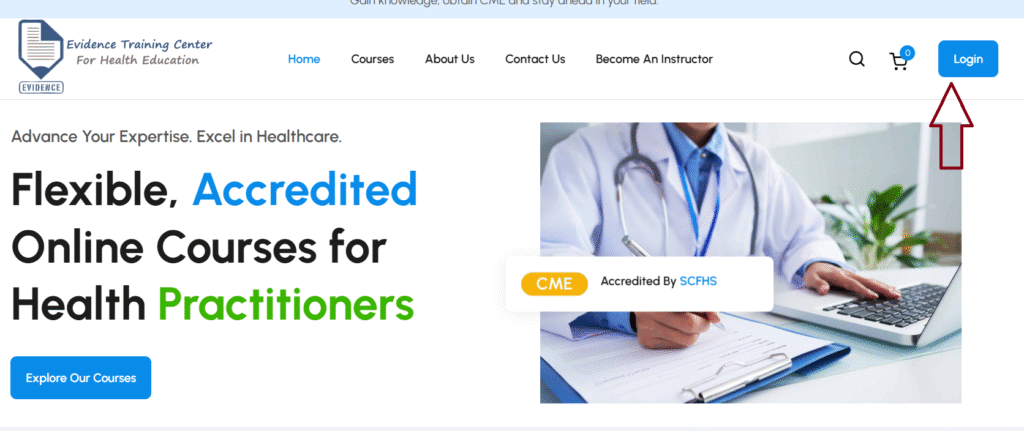
1. login to your account
Click on login above.

Login using your credentials Or click on “Register Now” to create a new account
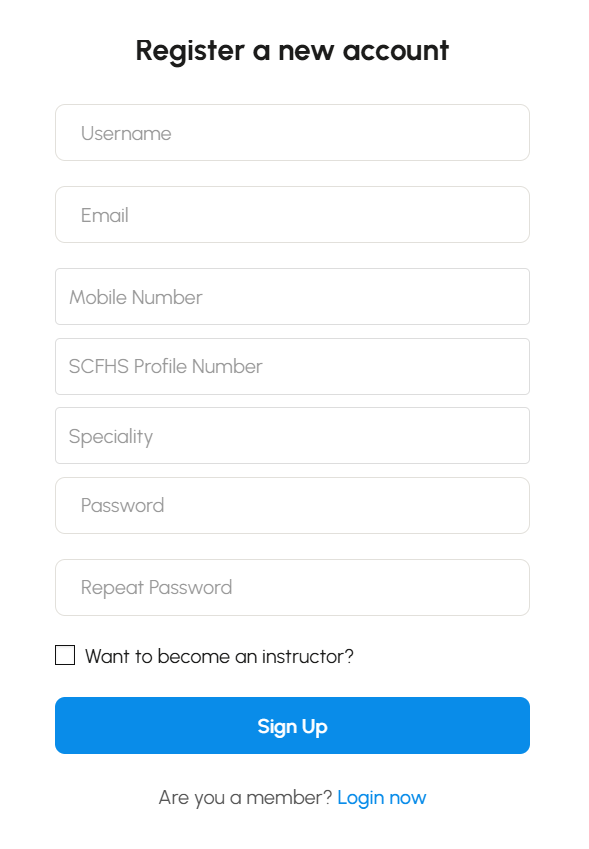
2. Register new account
Please fill out all required information to register a new account.
If you are a student or do not yet have an SCFHS file number, type “Student” or “N/A” in the SCFHS File Number field
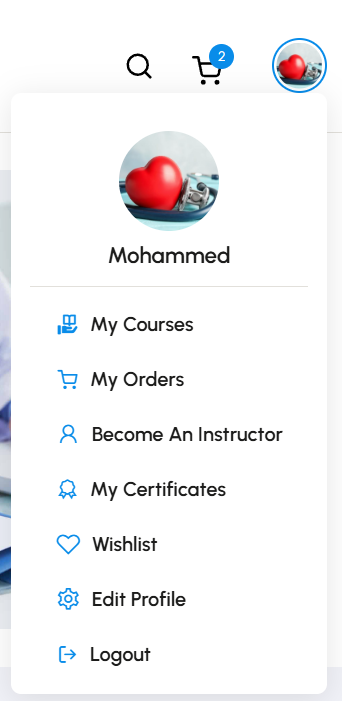
3. User Profile
After logging in, click on your profile picture in the top corner, then select “My Courses” to view and manage your personal details.
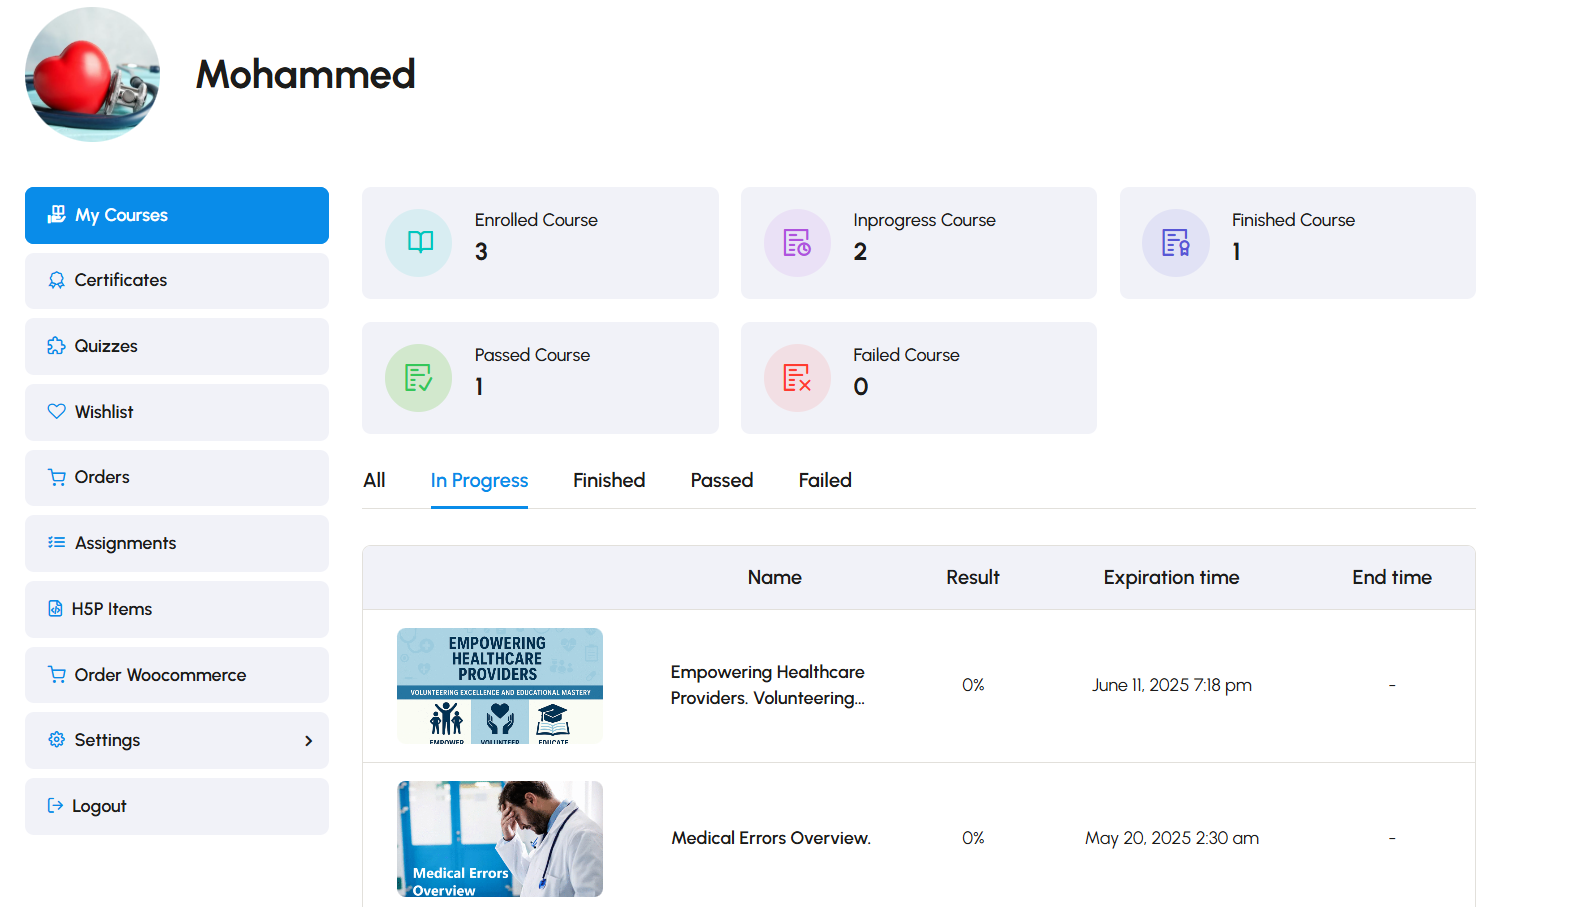
4. Learning Dashboard
Your Learning Dashboard
This screen shows your personal profile on the learning platform. From here, you can view your course progress, certificates, and quiz results—all in one place.
- The left sidebar gives quick access to areas like My Courses, Certificates, Quizzes, Assignments, and Settings.
- In the center, you’ll see your learning statistics—including enrolled, in-progress, finished, passed, and failed courses.
- Below the stats, you’ll find a list of your active courses with details like percentage completed, expiration time, and course end date.
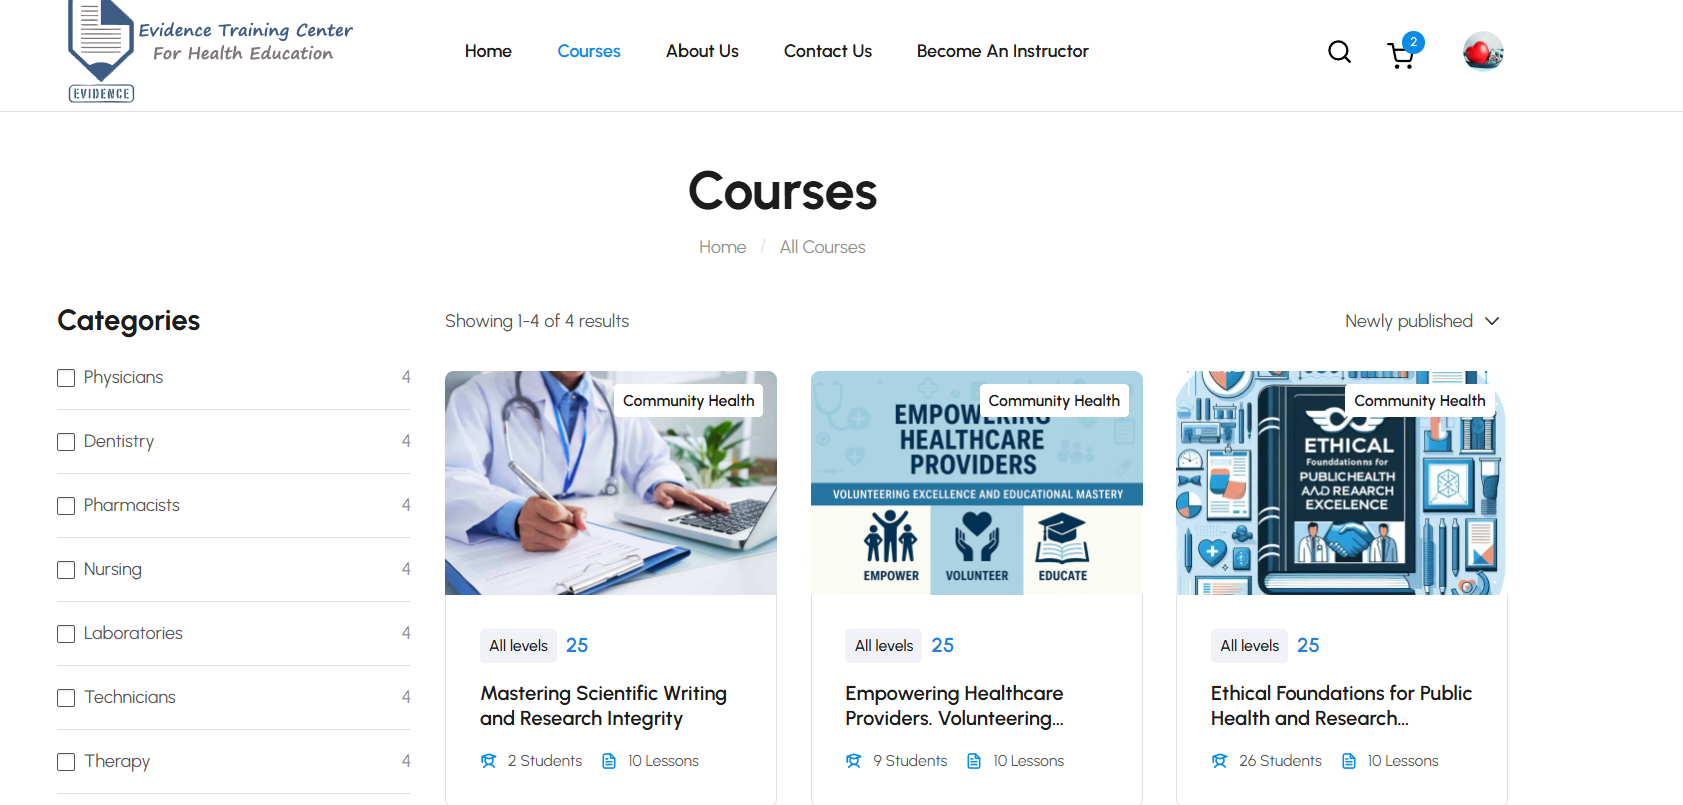
5. Explore Courses
To explore courses:
Click on “Courses” in the top navigation bar.

Browse and choose your desired course.
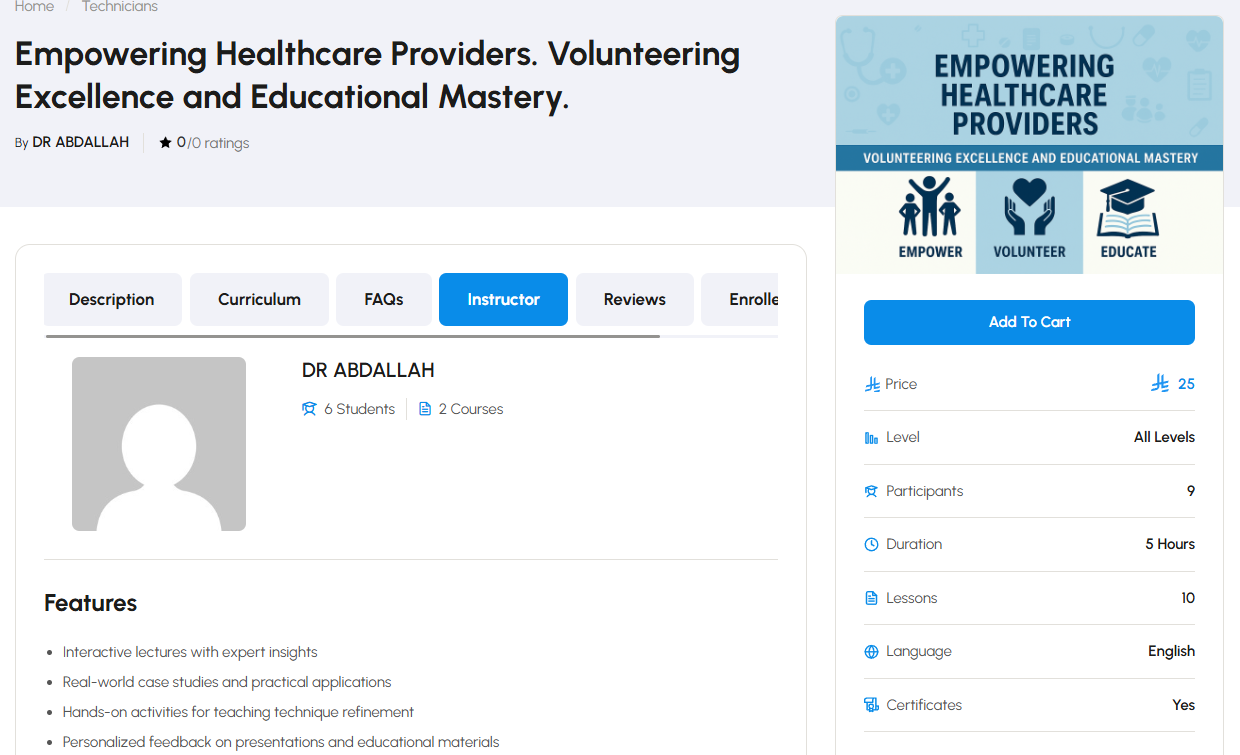
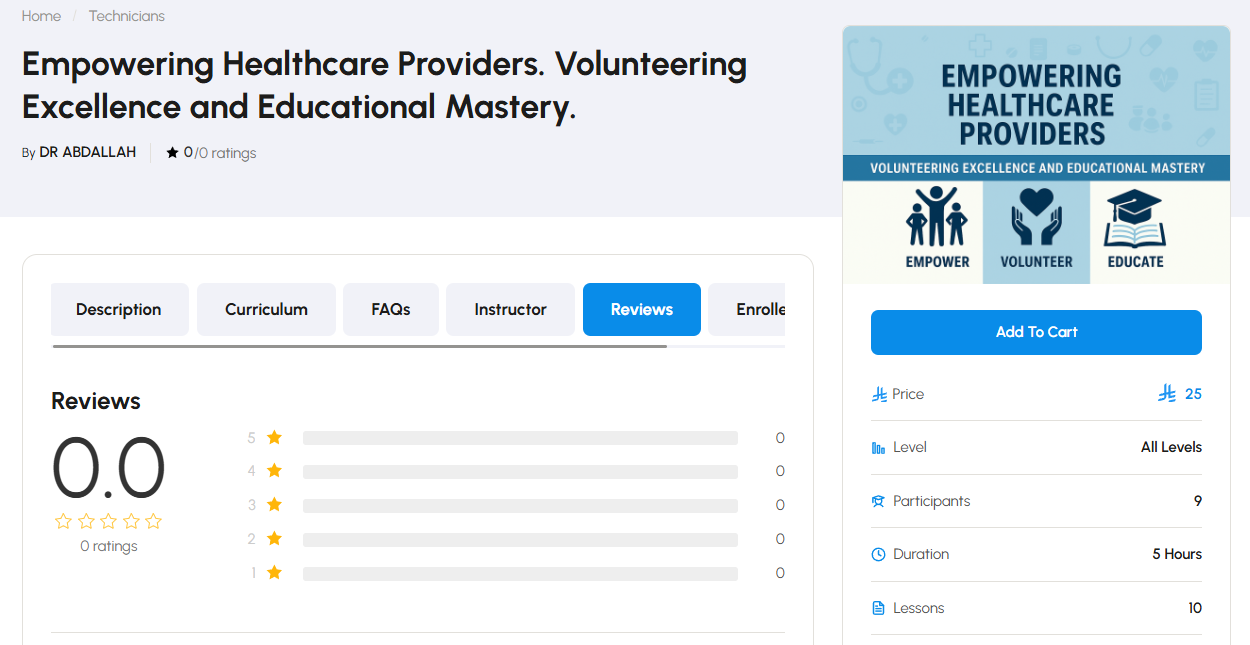
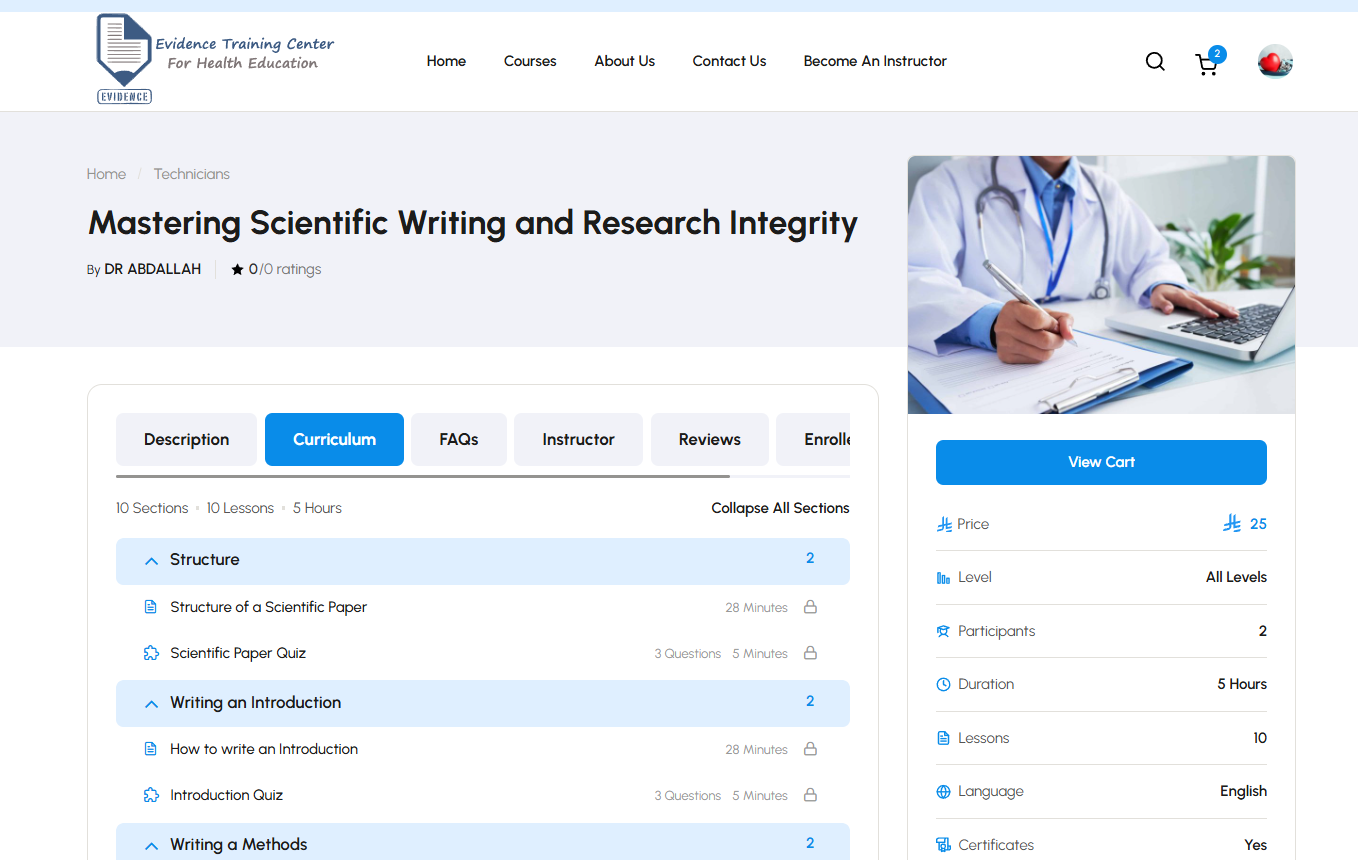
6. View Course's Details.
To view more information about the course click on any of the following tabs located just below the course title:
- 📝 Description – Explore the course overview and objectives.

- 📘 Curriculum – Check the lesson structure and content.
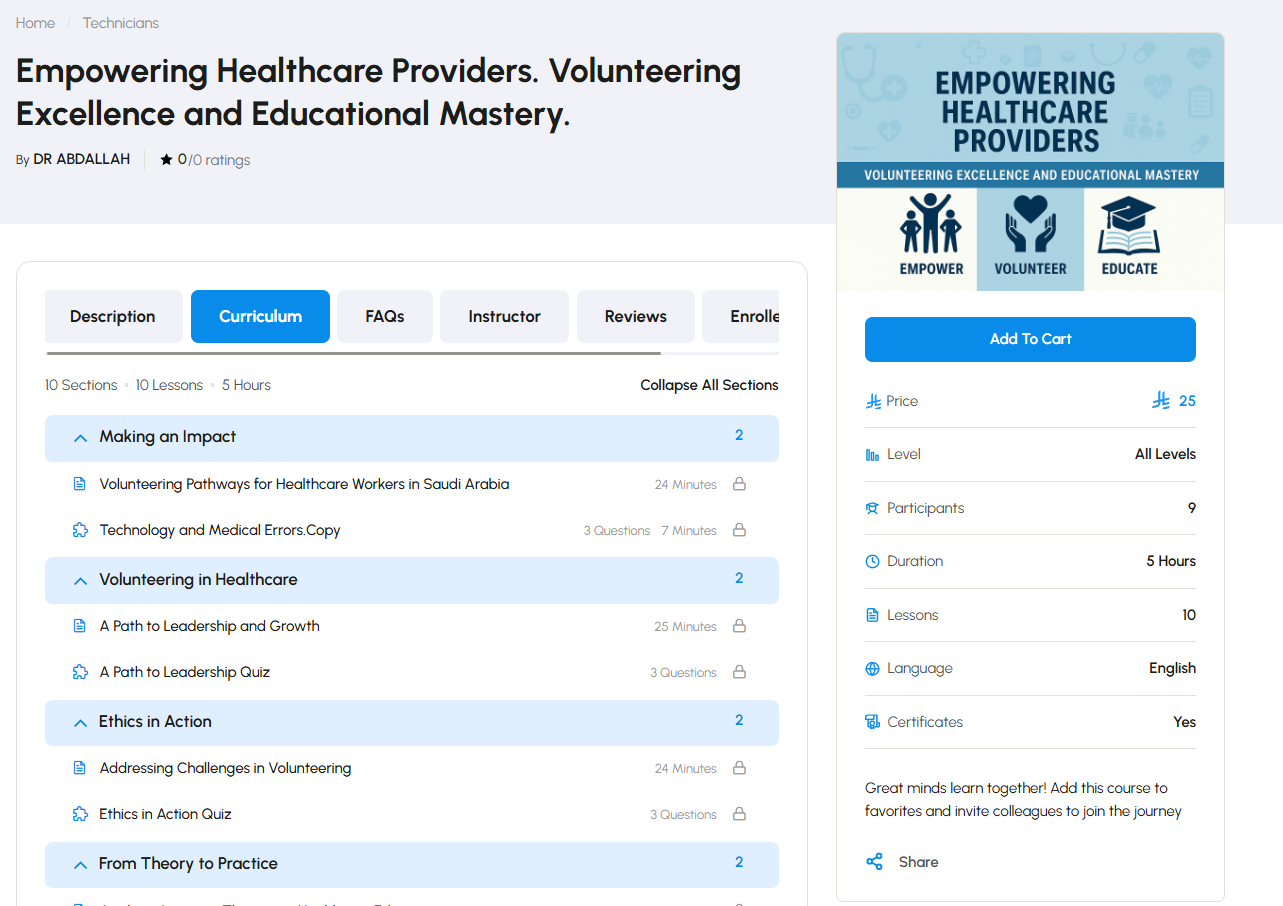
- ❓ FAQs – Find answers to common questions.
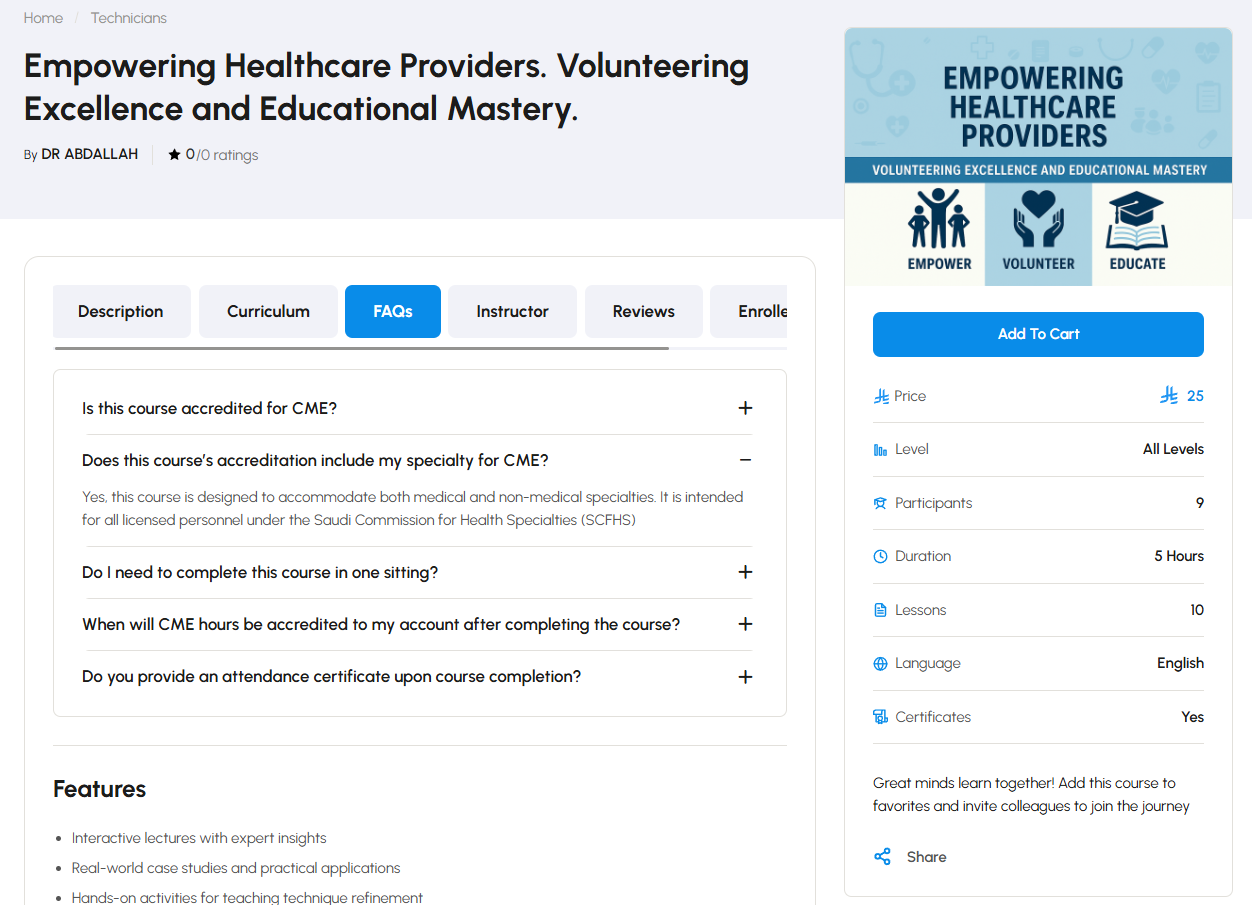
- 👨🏫 Instructor – Learn more about the Instructor and his expertise.
- ⭐ Reviews – See feedback from other participants.
7. How to Enroll in a Course?
🛒 Enroll in the Course
Click “Buy Now” or “Add to Cart” on the right side of the screen.

Proceed to checkout to complete your enrollment.
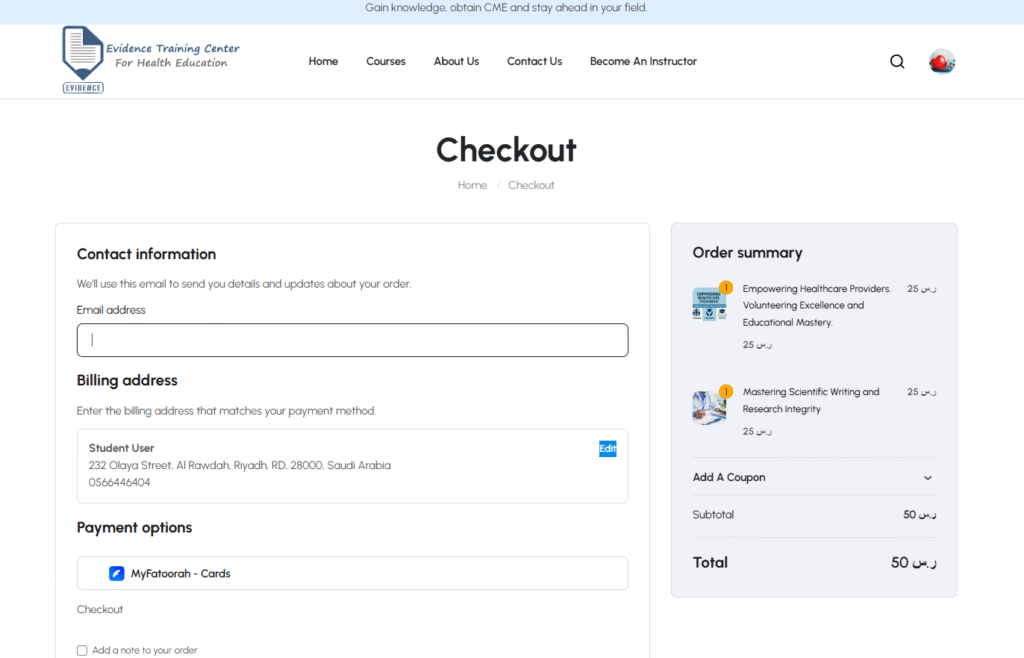
Once enrolled, you’ll gain access to the lessons, quizzes, certificates, and course progress tracking.
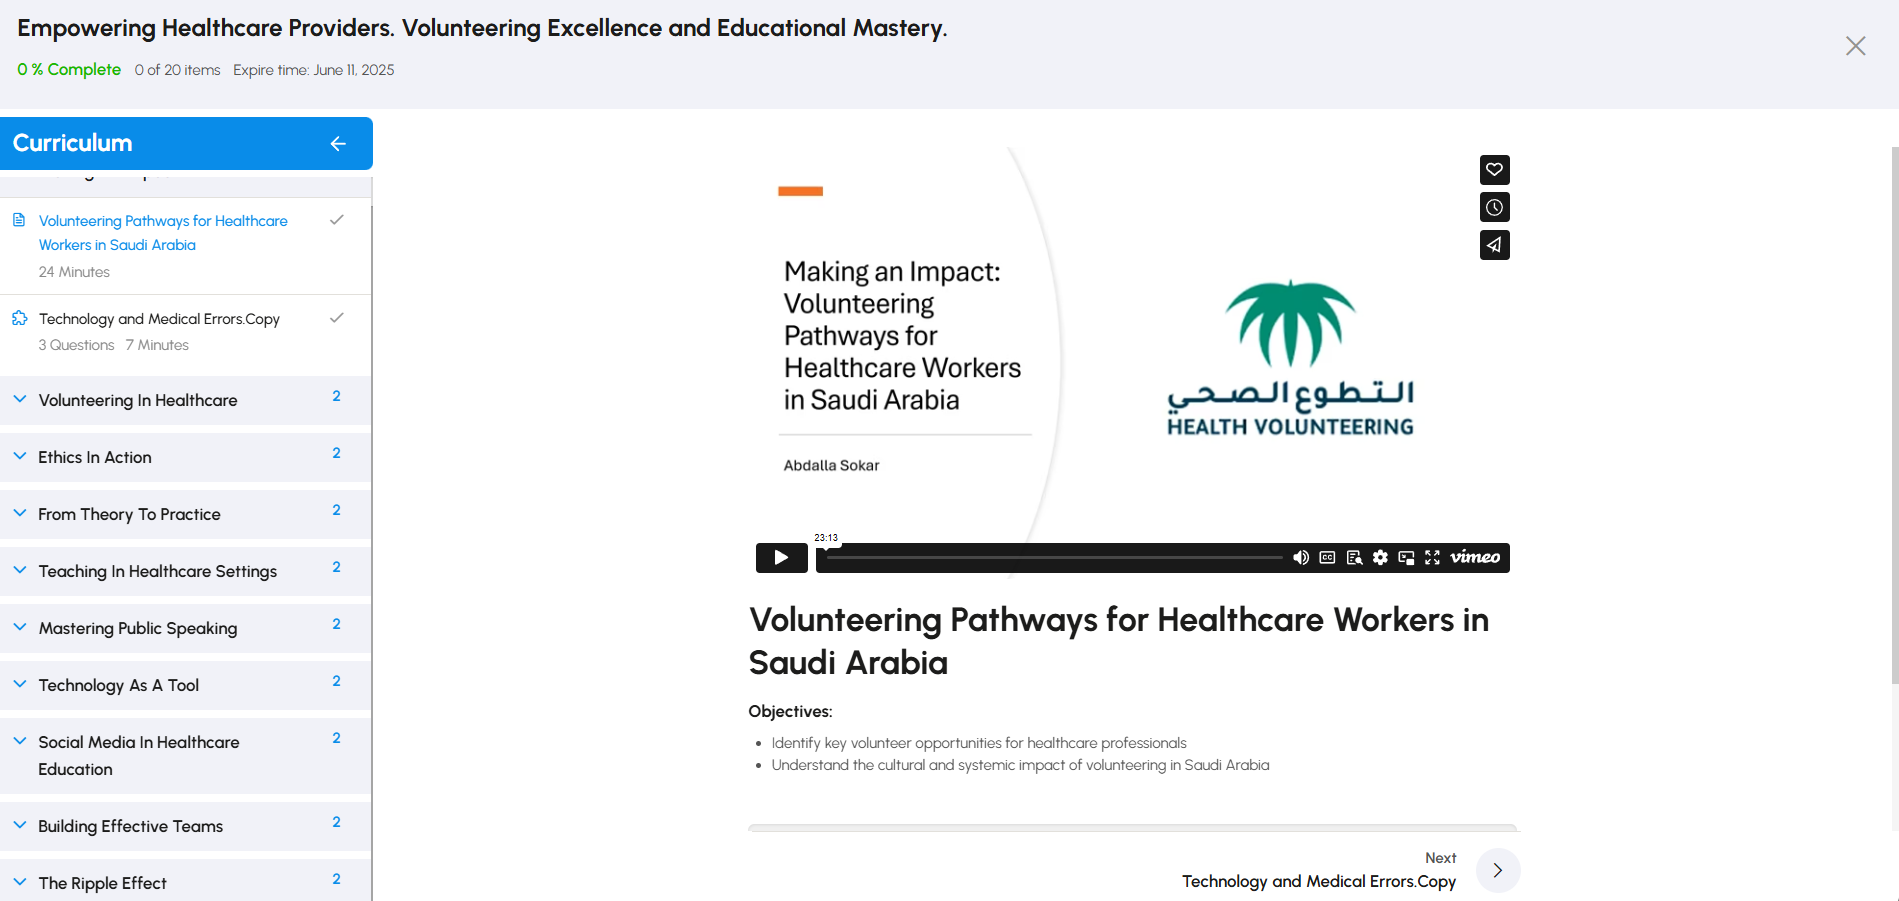
8. Start your Learning Journey
To begin your course:
Click on the “Curriculum” tab located below the course title.
Select the first lesson titled to dive into the content. Each section includes lessons and quizzes designed to build your skills progressively. Track your progress and earn your certificate as you complete the course.